When you’re busy running a business in the UK, it can be difficult to keep track of every deadline set by HMRC and Companies House – especially in light of frequently changing legislation. However, staying compliant with UK share plan regulations is crucial if you want to remain eligible for tax-efficient schemes like EMI and CSOP, protect your company’s reputation and avoid tax penalties for your employees.
Previously, companies were required to notify HMRC within 92 days of issuing new grants under an Enterprise Management Incentive (EMI) scheme to qualify for preferential tax treatment. However, this rule has now changed: for EMI options granted on or after 6 April 2024, you simply need to submit one EMI notification for each tax year – along with your EMI annual return – by the 6 July deadline.
Carta’s suite of software and services is designed to simplify regular equity compliance tasks, such as HMRC valuations and filings. With Carta, you can generate an EMI notification from the platform and it’ll be delivered to your email inbox in minutes.
Once you’ve reviewed the report, you can refer to the guide below for the general steps to file your EMI notification through HMRC’s online portal.
Note that this article does not provide legal, financial, accounting or tax advice, and Carta encourages you to consult a qualified professional advisor before making any decision or taking any action that may affect your business or interests. Carta is not affiliated with or endorsed by HMRC, and questions regarding use of the HMRC online portal should be directed to your professional advisors and/or HMRC.
1. Set up your notification
Sign in to the HMRC online portal using your company’s Government Gateway user ID and password. If you don’t have an account, you’ll need to register with HMRC as an employer.
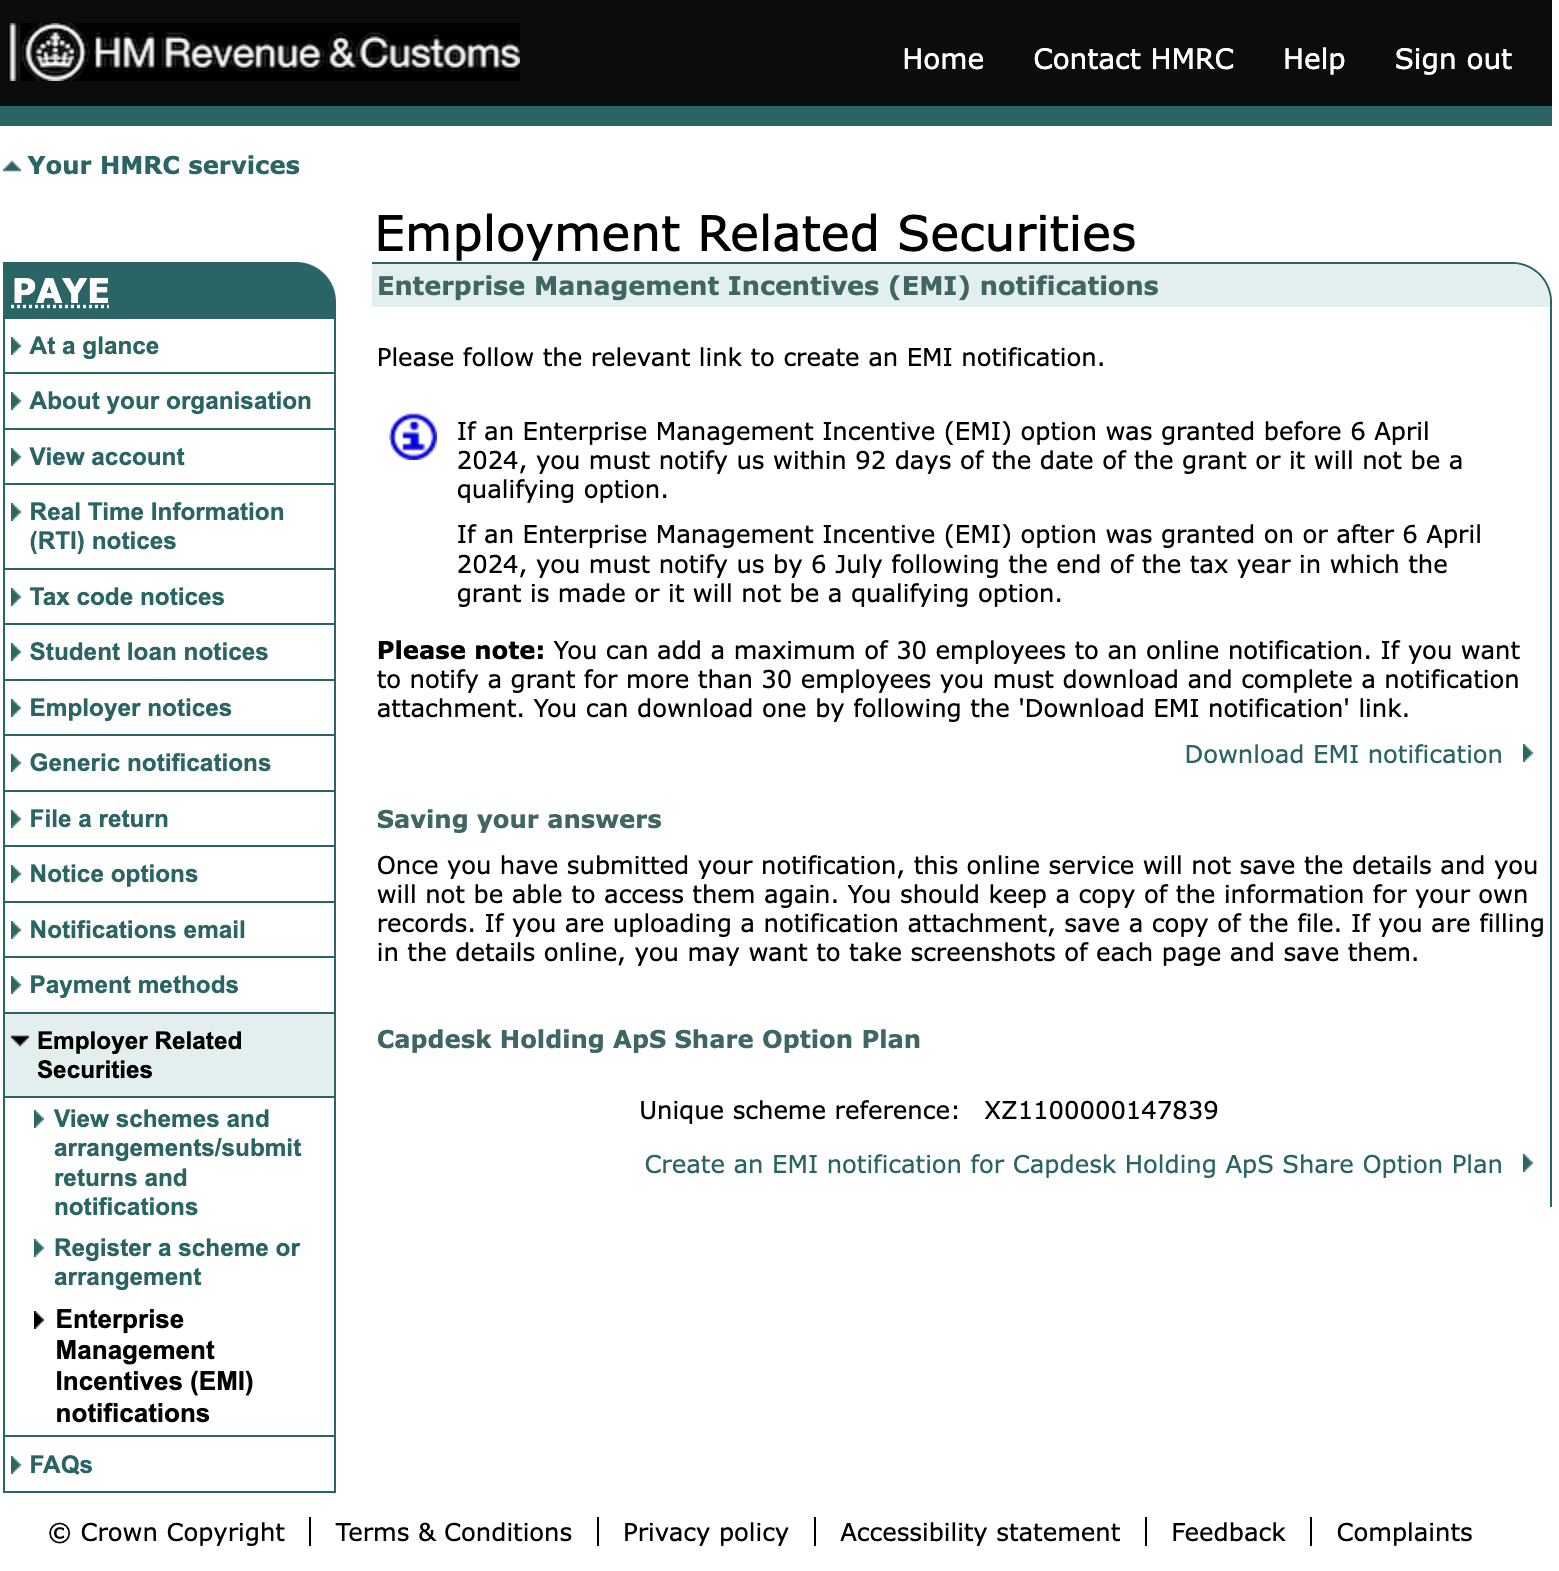
Once you’ve signed in, click ‘Enterprise Management Incentives (EMI) notifications’ (under ‘Employer Related Securities’ in the left-hand navigation bar).
If your grant notification relates to more than 30 employees, follow the ‘Download EMI notification’ link. Otherwise, click ‘Create an EMI notification for [company plan]’.
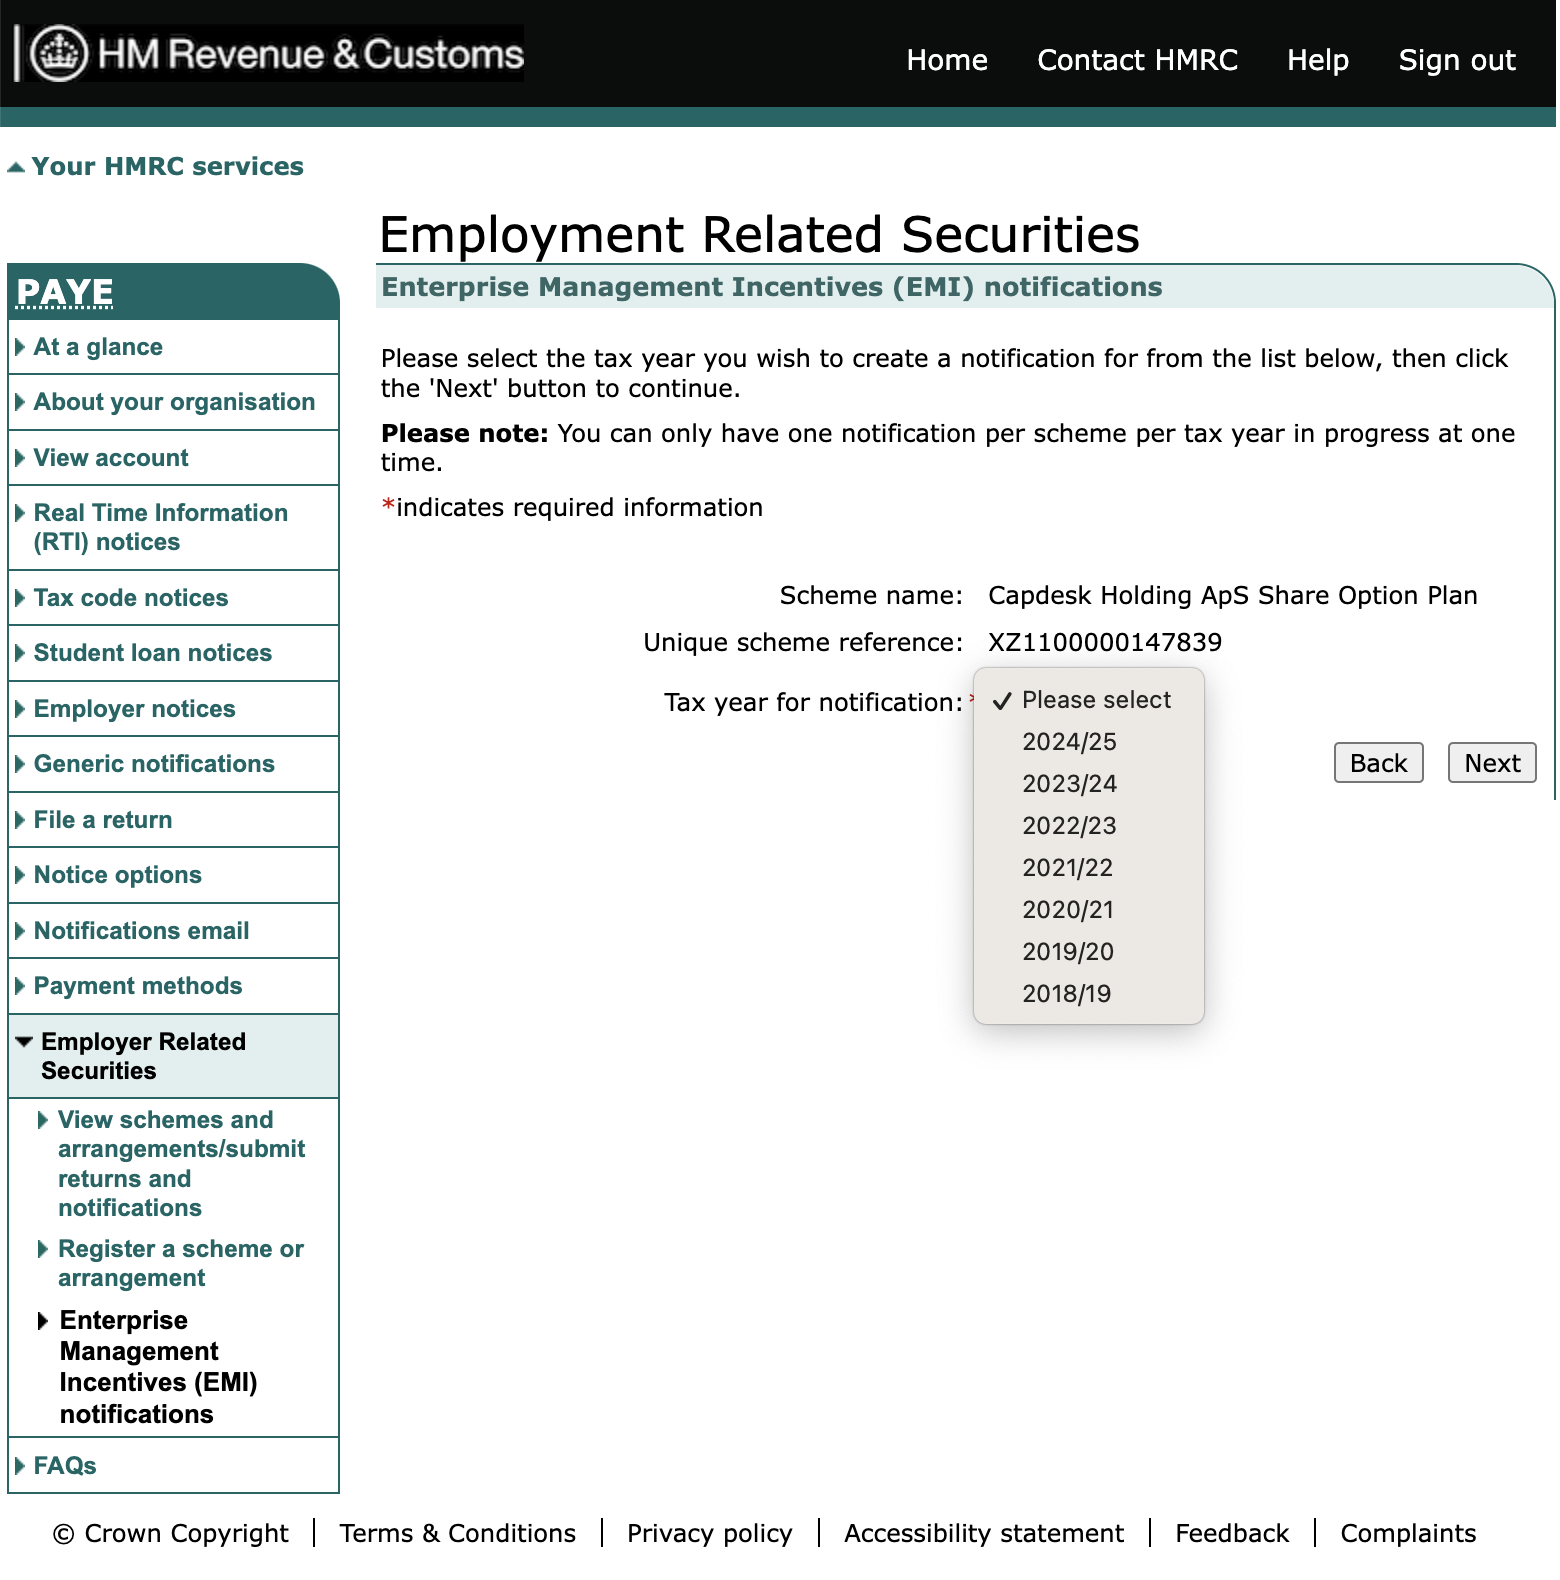
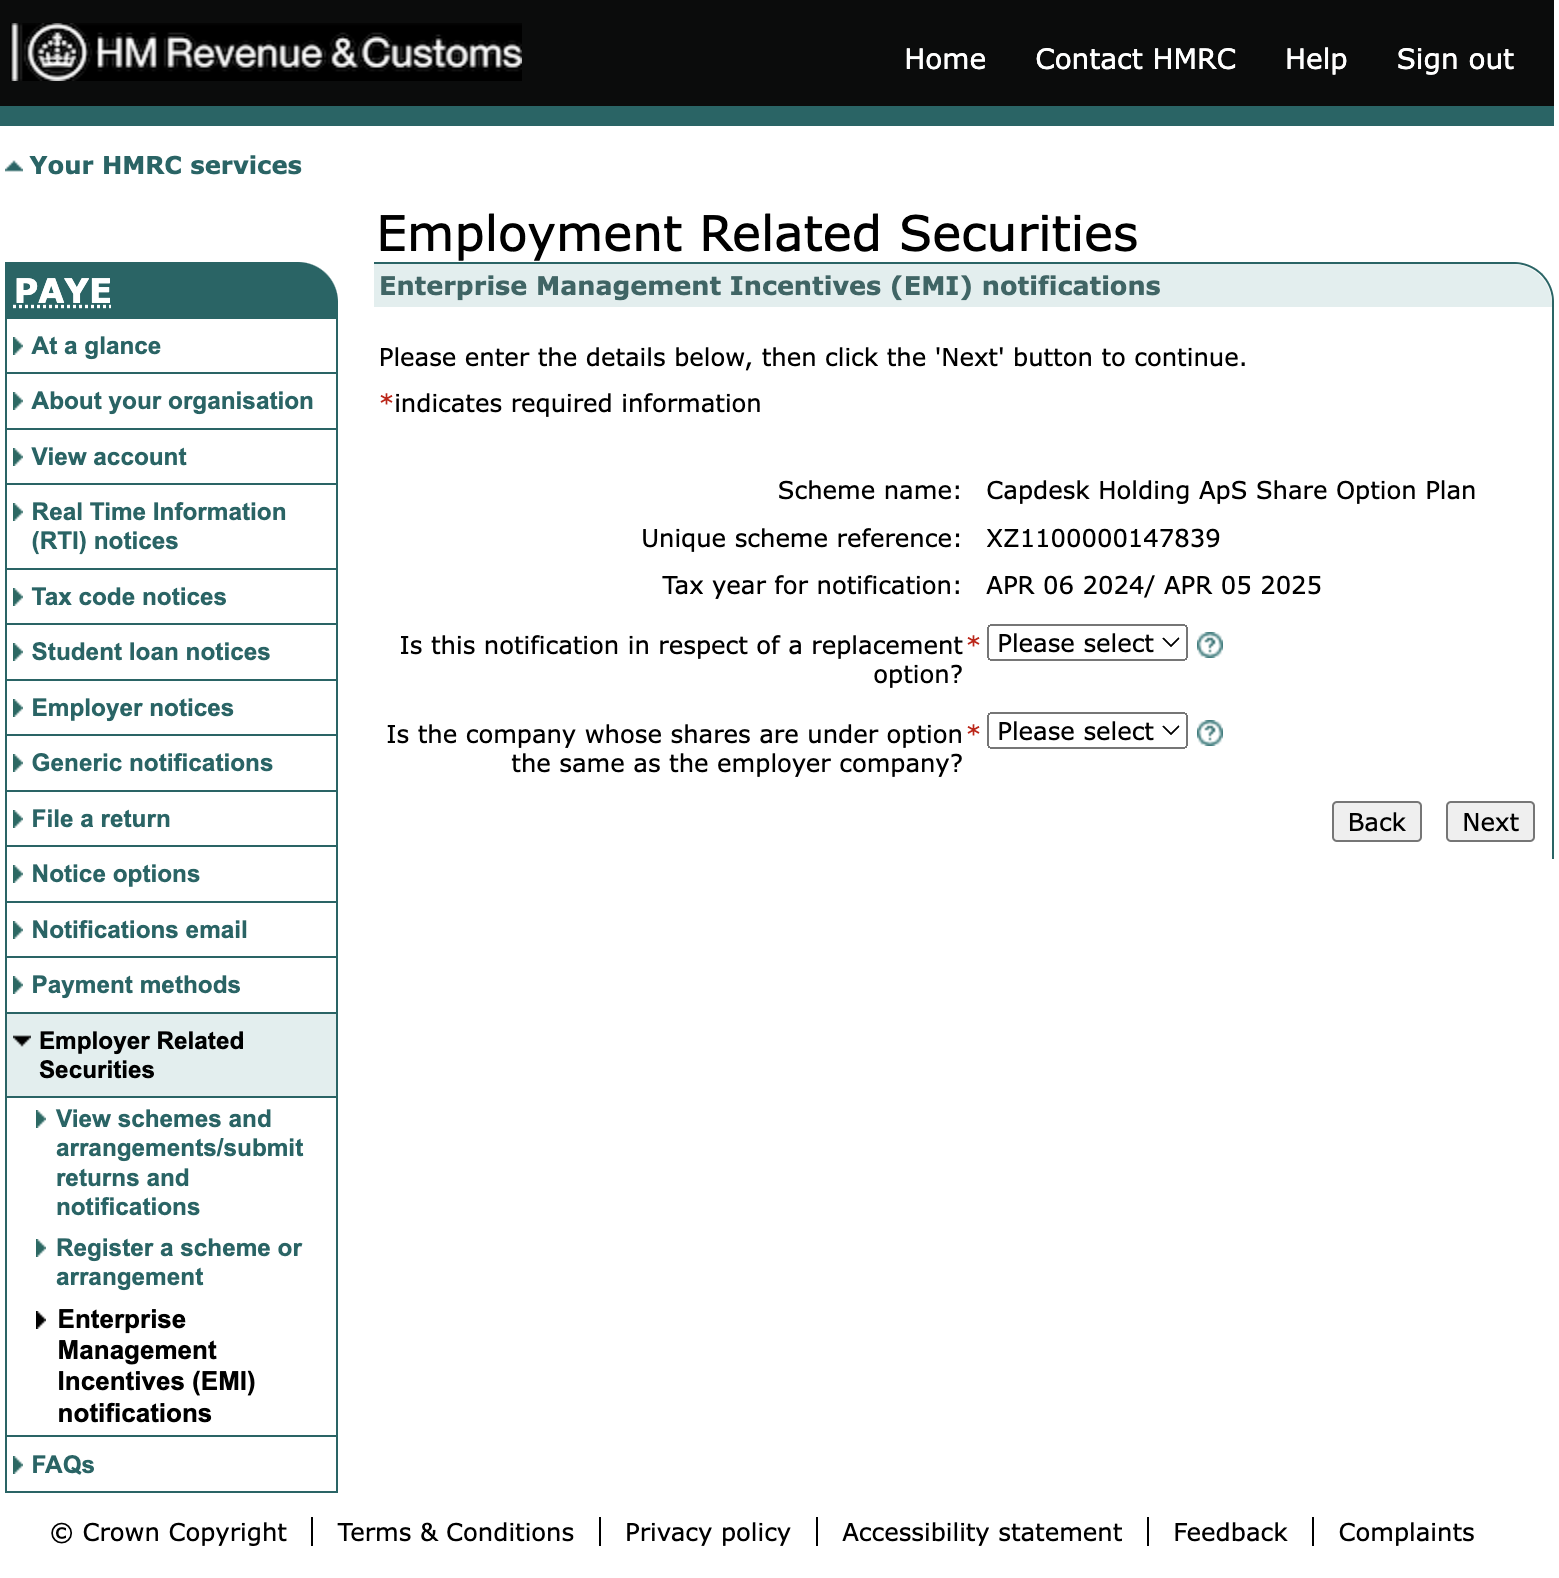
Use the drop-down menu to select the tax year in which the grants were issued. Click ‘Next’ to continue.
Enter the date of the option grant and click ‘Next’.

Answer two questions about the options you've issued, then click ‘Next’ to continue.
The Notification summary page recaps the information you’ve entered so far. You'll need to complete three further sections, indicated by a blue arrow in the ‘Status’ box.
Click ‘Next’ or the first blue arrow to move on to the Employer company details section.

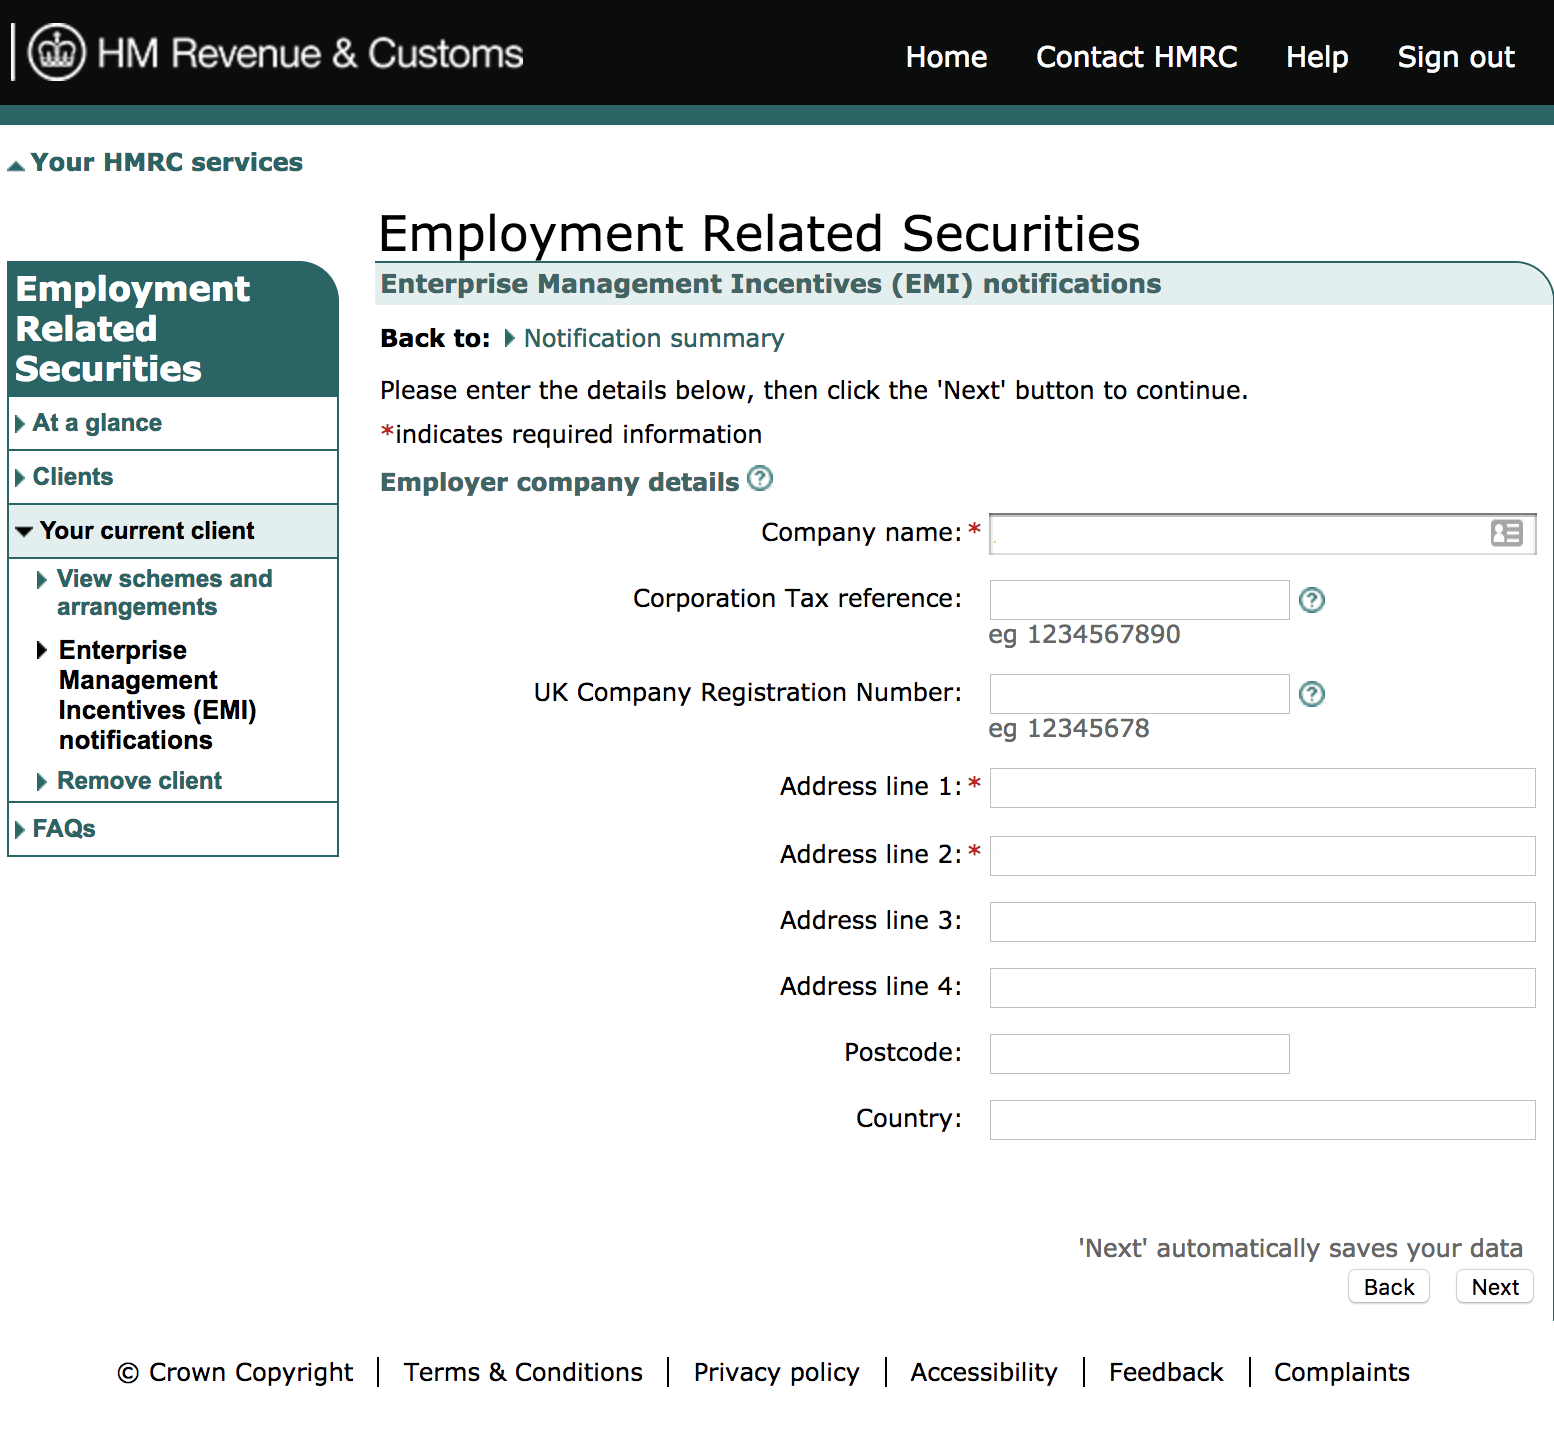
2. Add employer company details
This page asks for information about your company, such as the Corporation Tax reference and business address.
Once you’ve entered the necessary details, click ‘Next’ to save your data and move on to the Details of shares section.
You can also return to the previous section by clicking the ‘Back’ button or the ‘Notification summary’ link.
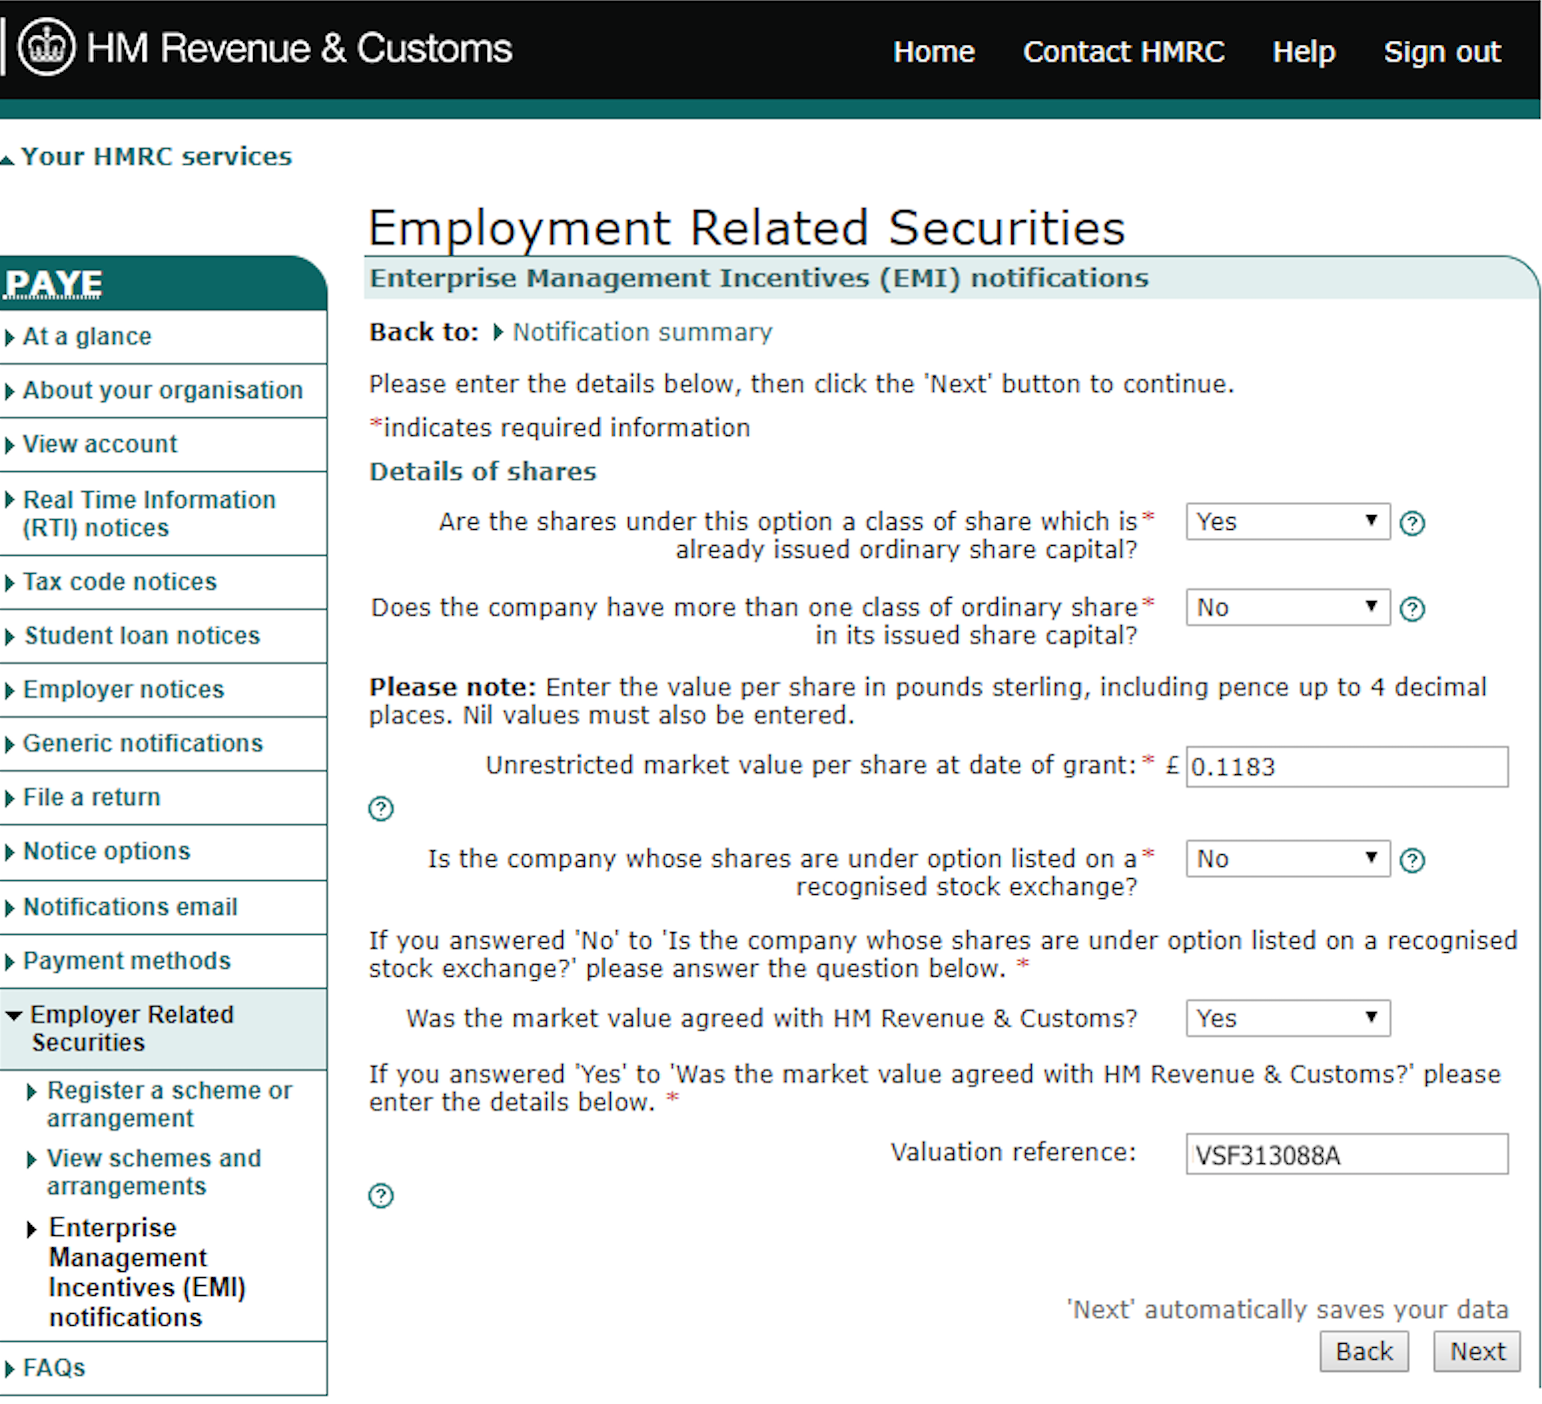
3. Add share details
In this section you need to provide information about the class and unrestricted market value of the shares being issued.
You must also confirm whether or not the market value was agreed with HMRC. If relevant, include the reference number of your most recent HMRC-approved valuation.
Click ‘Next’ to save your data and proceed to the Employee Details section.
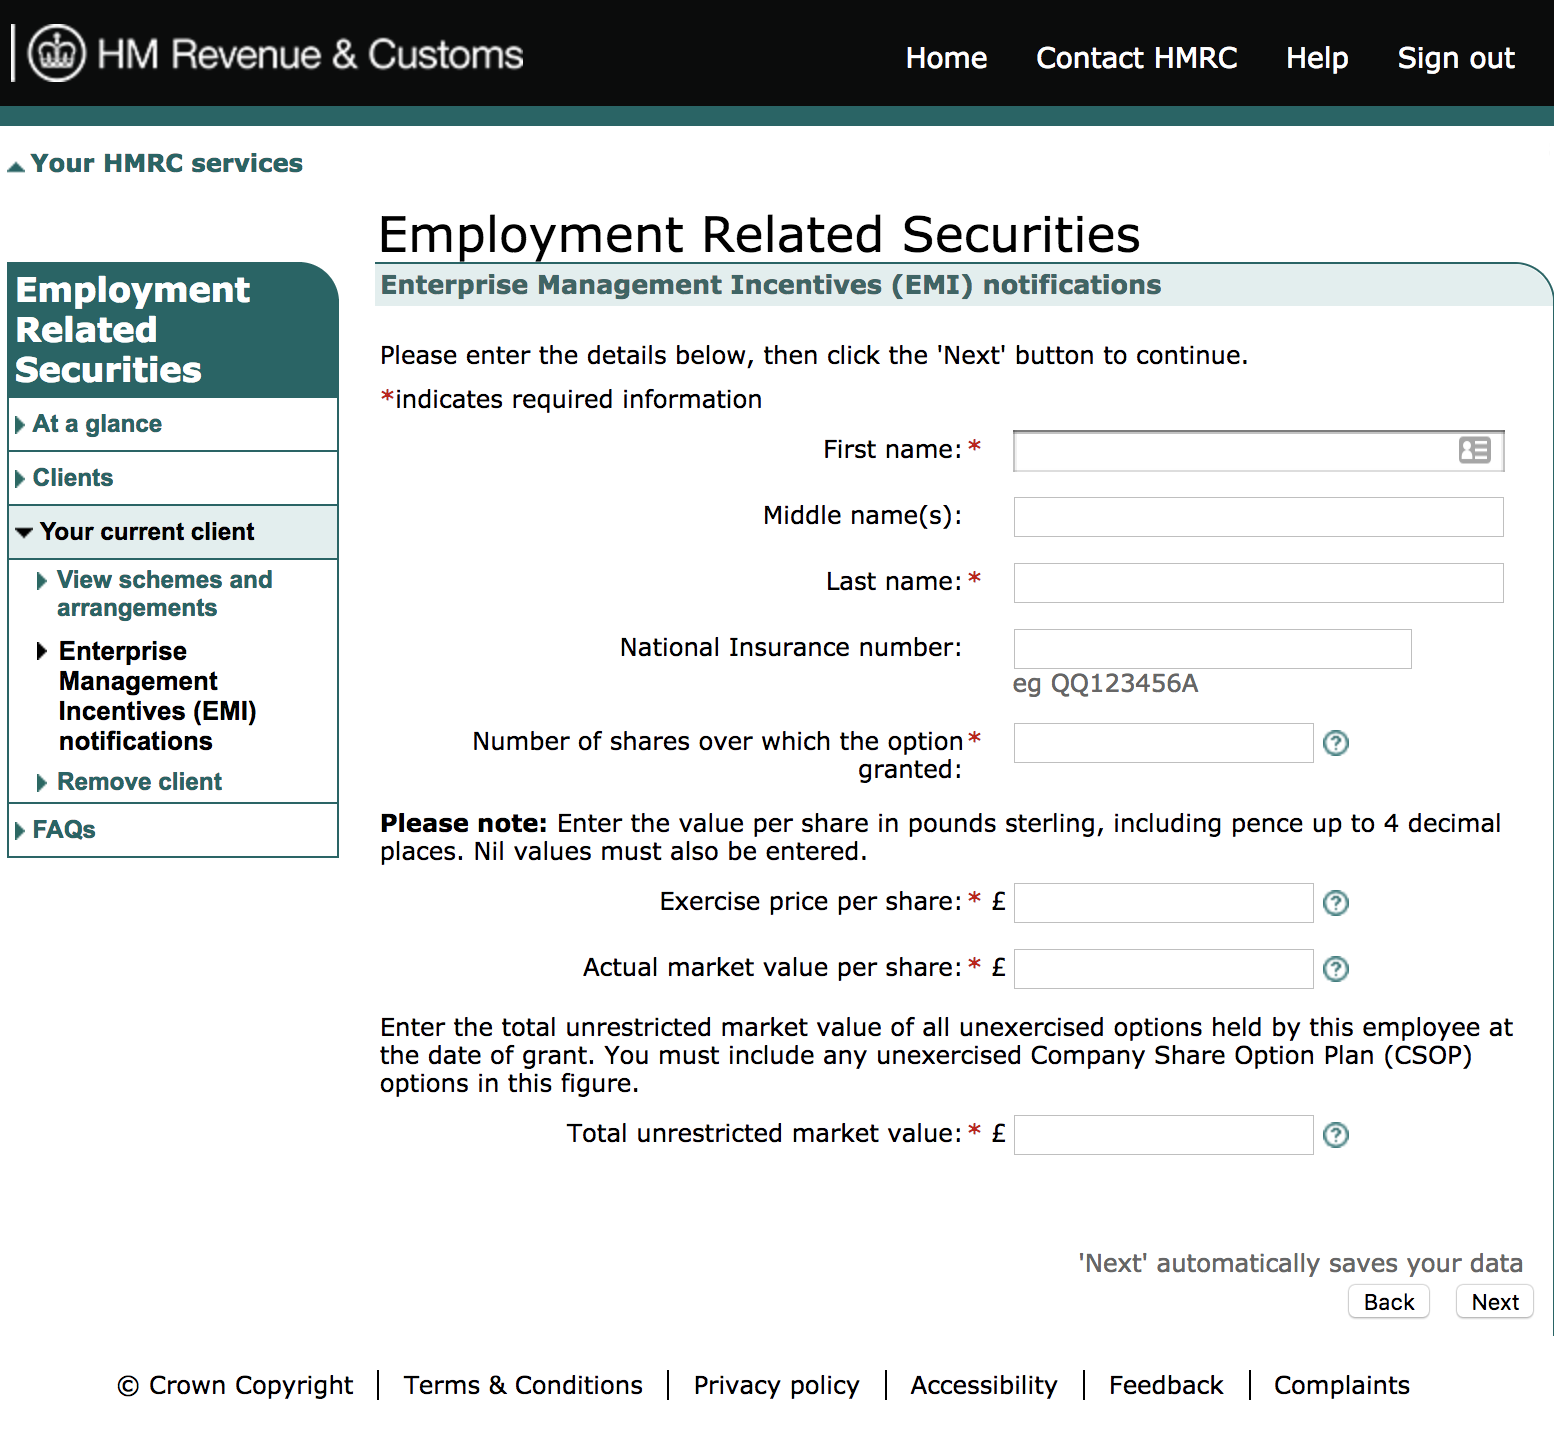
4. Add employee details
There are two ways to enter information about new optionholders. If your company isn’t a Carta customer, you’ll need to enter each grant recipient’s details manually. Clicking ‘Add Employee’ will take you to the form shown below.
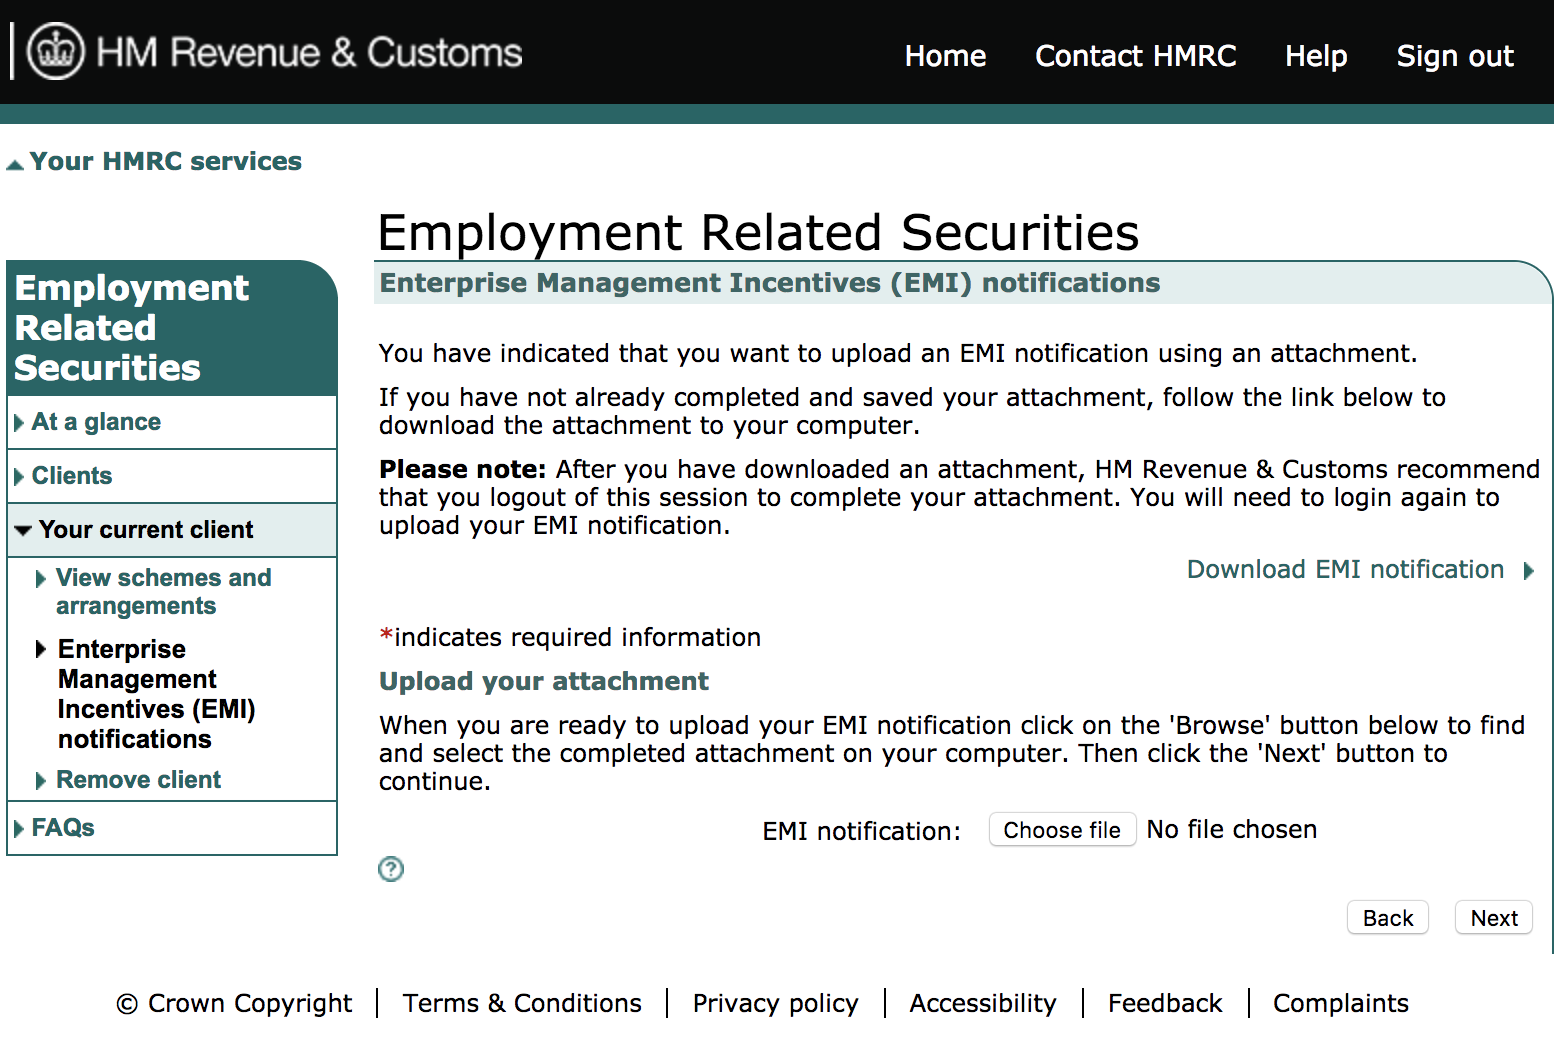
Alternatively, you can upload your EMI notification using an attachment. This page allows you to download an EMI notification form and complete it offline before uploading it here.
With Carta, there’s no need to fill this form out manually. You can simply upload the EMI notification file you exported from our platform.
To upload an attachment, click the 'Choose file' button at the bottom of the page. Click 'Next' to move on.
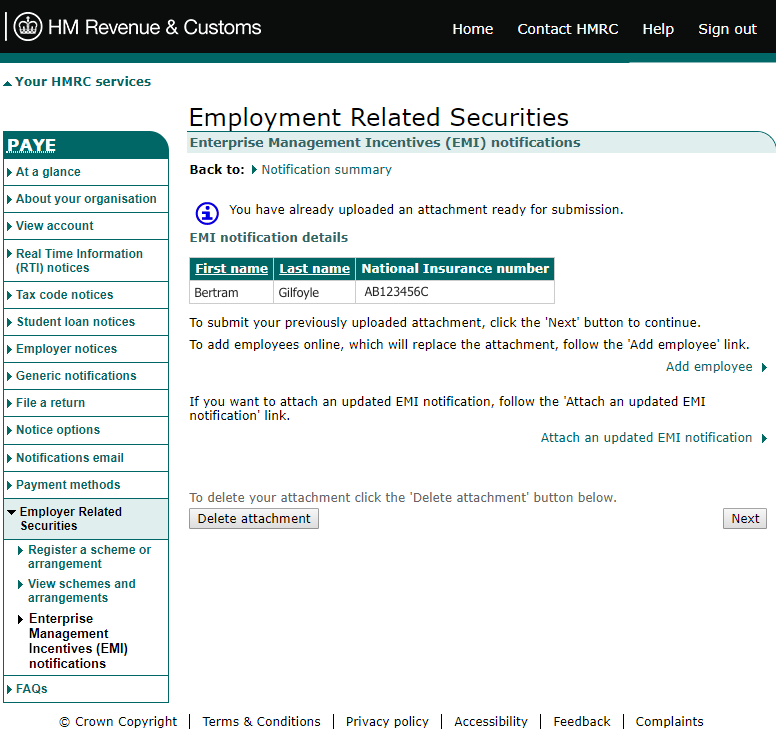
5. Review and submit
This is an opportunity to review your EMI notification before submitting it. You can manually add another employee or attach an updated file, but doing so will replace any existing attachments.
Click ‘Next’ to continue.
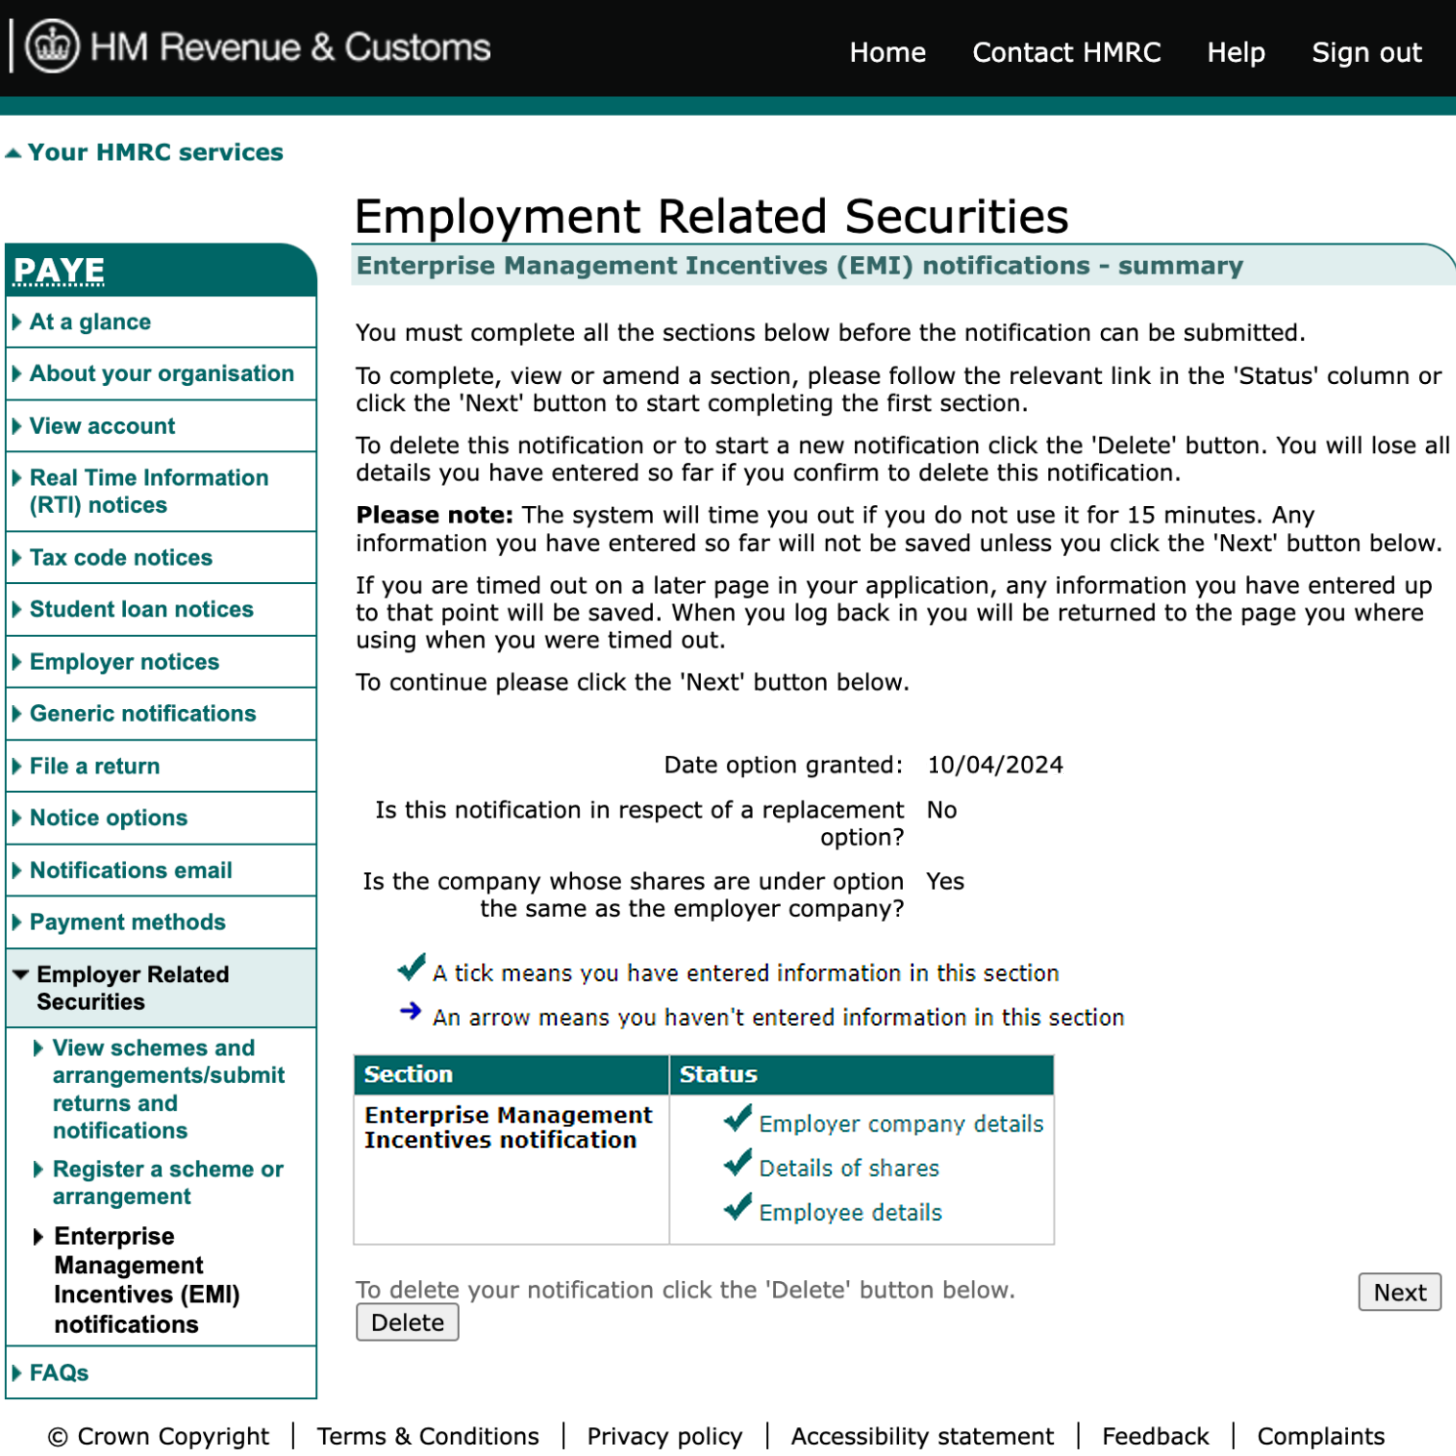
Return to the Notification summary page to check that all sections are complete. You should see three green ticks.
If you’re happy with your submission, click ‘Next’.
The final step is to tick the declaration checkbox to confirm that your notification meets the criteria listed on the page. Once you've verified this, click ‘Next’.
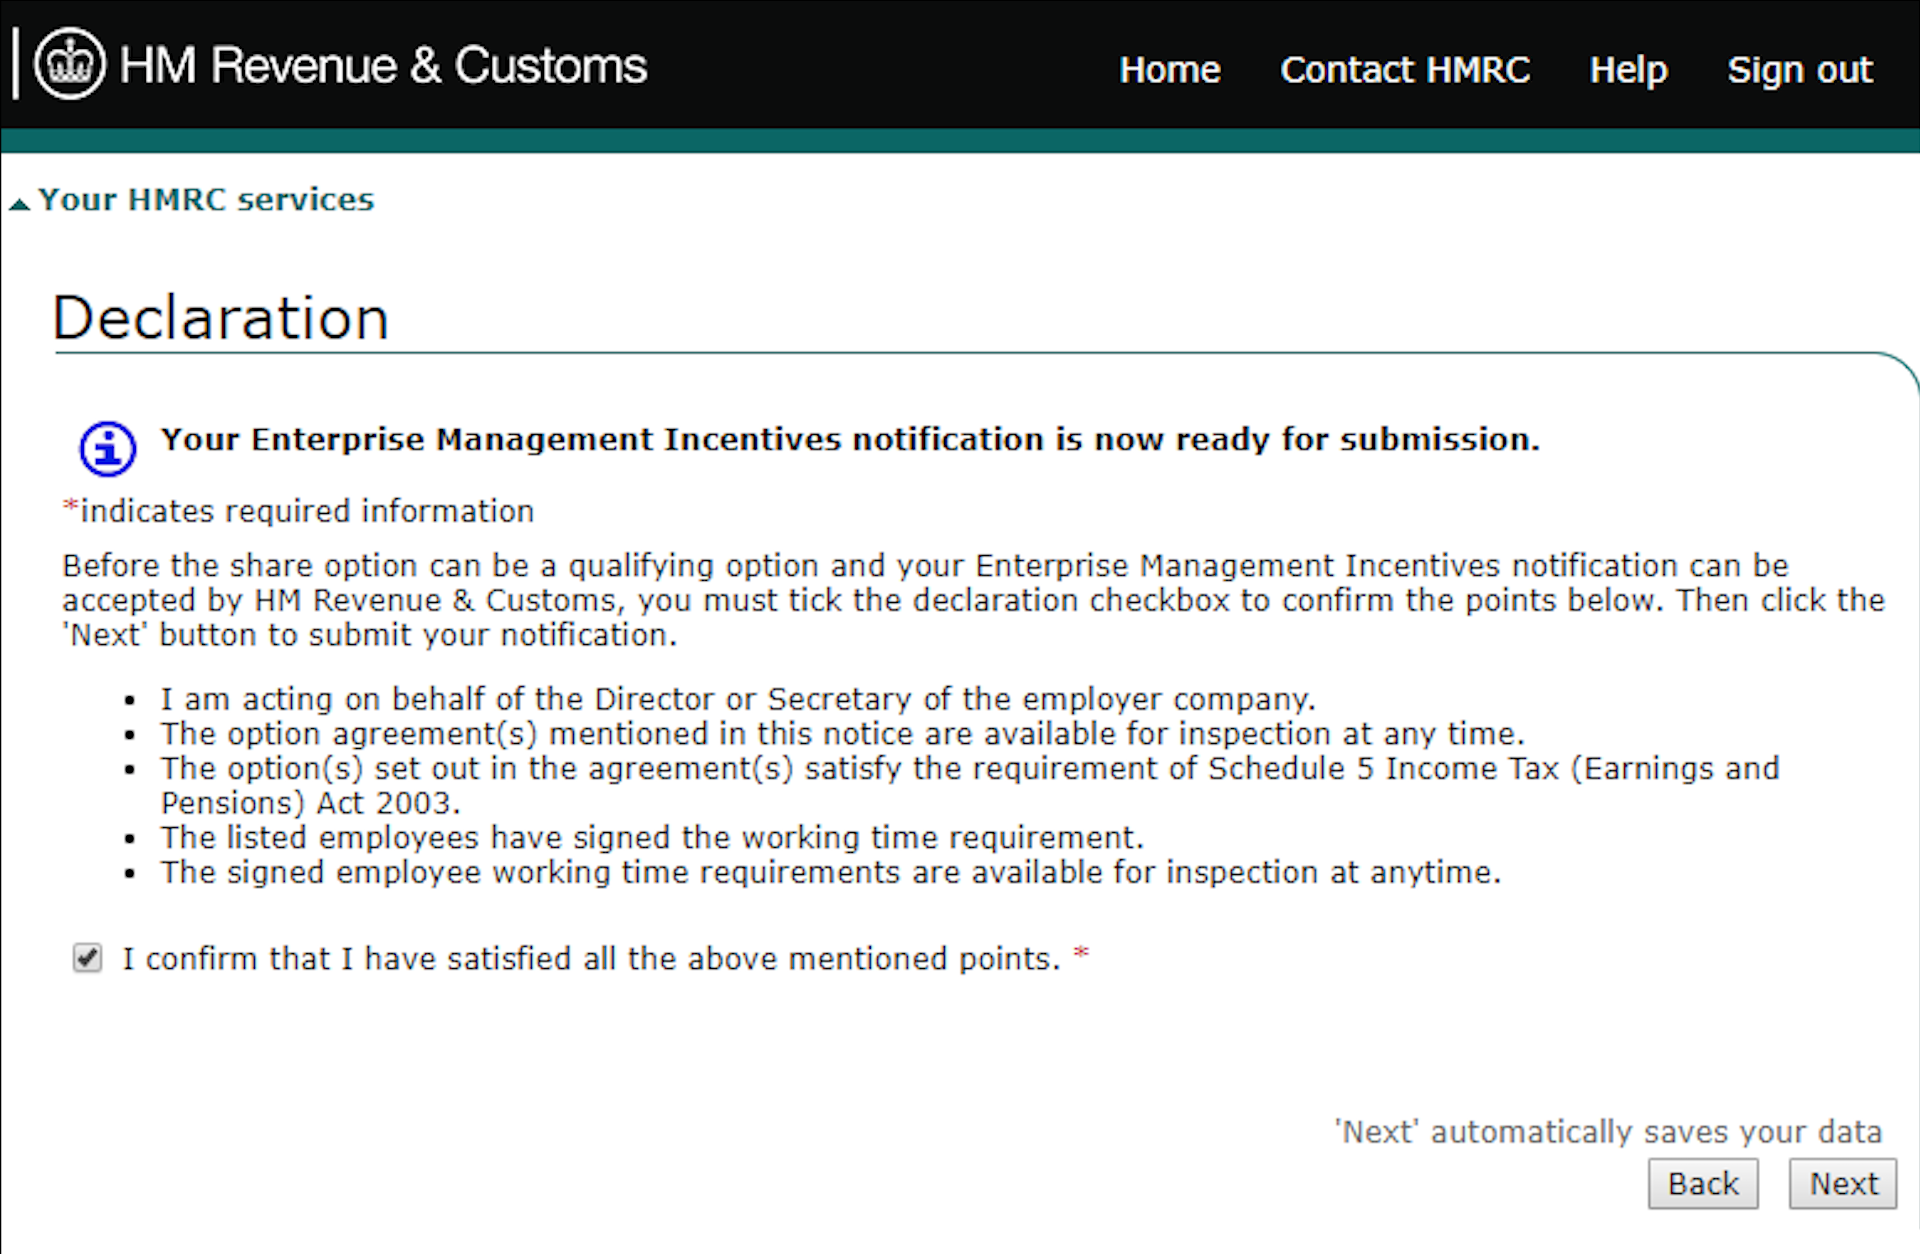
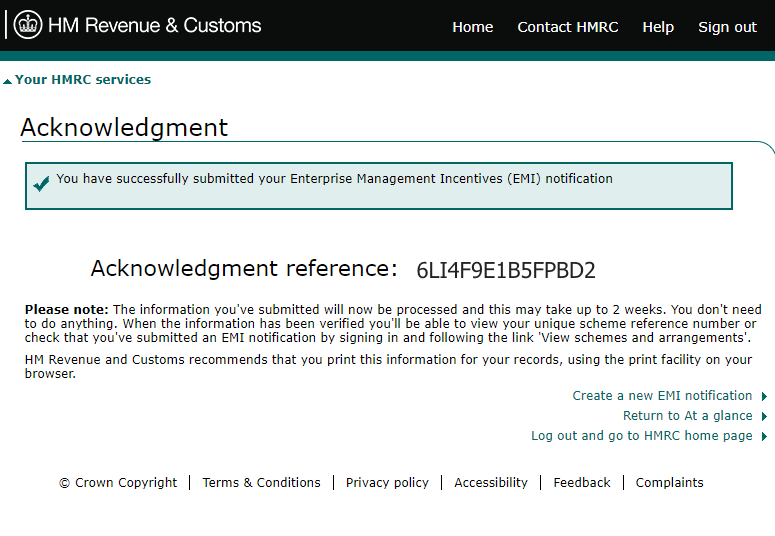
You should receive confirmation of your submission along with a reference number. Note that it can take up to two weeks for HMRC to process and verify your information.